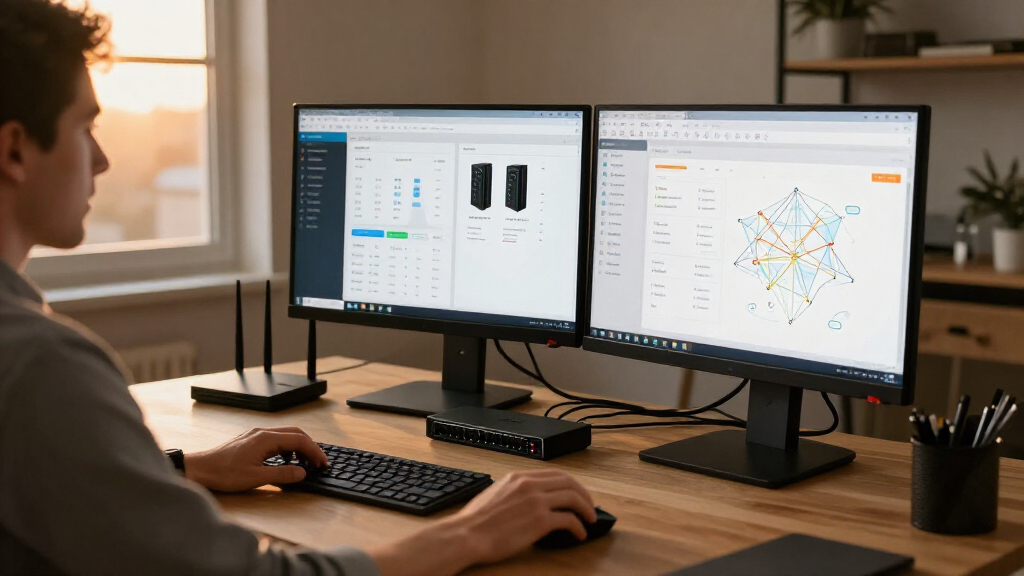
This checklist is for cloud administrators setting up a desk for hands-on infrastructure work, from connecting to servers to checking network links. Use it to think through which tools belong in your workspace and which needs call for advice before you buy. Match each pick to your work and the equipment you already use.

Get business pricing on networking and server gear
- Business-only prices and quantity discounts
- Tax-exempt purchasing
- Multiple users, one account, clear invoices
The sections follow the listed setup categories: switching between systems, console access, serial connections, fiber testing, cable certification, and labeling. Some slots have a named pick; others are advice only, so consider your requirements before choosing a product.
Start with the tasks you perform most often, then check connector types, device compatibility, and available desk or rack space. Treat product names as starting points, and verify fit against your own setup. A task-first checklist can help you avoid buying gear that does not serve your day-to-day workflow.
KVM switches
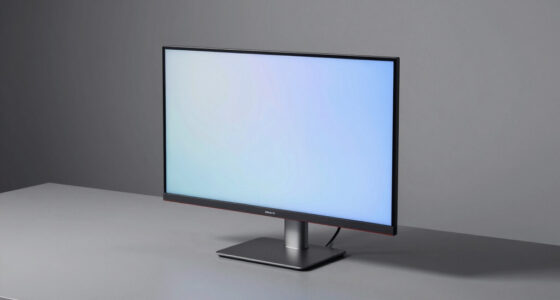
A KVM switch can be part of a desk setup when you need to work across multiple computers using shared peripherals. Before choosing one, list the systems you need to access and the displays, keyboard, and mouse involved. The right choice depends on the connections in your setup, so check each system’s available ports and the display connections you plan to use. Map your connections first to make the requirements clear.A common buying mistake is to focus only on the number of computers and overlook display compatibility, peripheral connections, or how you will switch between systems. Check supported video connections and resolutions against your monitors and computers, and consider where the switch and its cables will sit on the desk. If you manage systems remotely or use different console equipment, decide whether a physical KVM fits the way you actually work. Because this slot has no product pick, use your device list and workflow as the buying brief. Confirm every connection before settling on a model.
What to look for:
- Count the computers you need to control.
- Match video connections to your computers and monitors.
- Check keyboard and mouse connection requirements.
- Consider switch placement and cable reach.
Rack console drawers
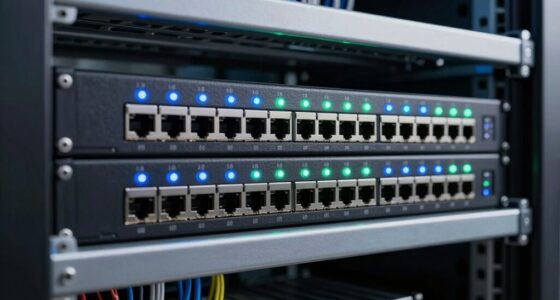
A rack console drawer can bring local access to equipment in a rack, making it a category to consider when rack-side work is part of your routine. Start by checking the rack and the equipment you need to reach. Confirm the available rack space and the console connections required by the systems you manage. Measure the rack space and record the needed connections before comparing options.A frequent mistake is to assume a drawer will fit because it is intended for rack use. Check the rack’s usable space, mounting requirements, and clearance for opening and working at the console. Also make sure the console connections suit the equipment you plan to access; a mismatch can make the drawer less useful in practice. There is no named product pick for this slot, so treat it as a planning checklist rather than a specific recommendation. Consider how often local access is needed and whether the rack location allows comfortable use. Check fit and access together so the console works where you intend to install it.
What to look for:
- Measure available rack space and check mounting requirements.
- Confirm clearance for opening and using the drawer.
- Match console connections to the equipment in the rack.
- Consider rack location and how often local access is needed.
USB serial adapters
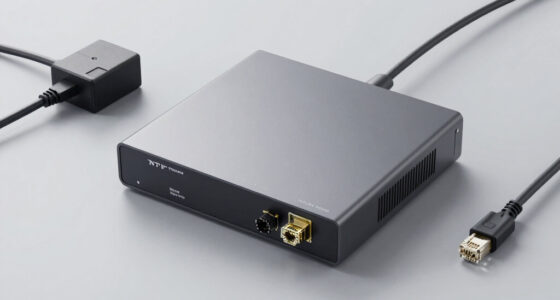
A USB serial adapter can be useful when your administration workflow calls for a serial connection through a USB port. The listed pick is named “USB Hub for PS5 Pro Console, 5-Port USB Expansion Adapter with 3 USB 2.” Its product name describes a USB hub, so check carefully whether it provides the serial connection your task requires. Verify the connection type rather than relying on the section label alone.A common mistake is to treat USB expansion and USB-to-serial conversion as interchangeable. Check the product’s documented ports and capabilities, then compare them with the console port, cable, and operating system involved in your setup. The name also references a PS5 Pro console; that alone does not establish compatibility with your administration equipment. Confirm fit and function for your particular devices before relying on it. Check the product details against the equipment you intend to connect, and choose a different category of adapter if a serial interface is required but not documented.
What to look for:
- Confirm the product explicitly supports serial connectivity.
- Match the adapter connection to the target device’s serial port.
- Check USB connector type and host-device compatibility.
- Verify operating system support and required cables.
USB Hub for PS5 Pro Console, 5-Port USB Expansion Adapter with 3 USB 2.0 Ports a

This hub is purpose‑built for the PS5 Pro console, adding three USB 2.0 ports and two Type‑C ports without needing extra power or drivers. It supports simultaneous connection of controllers, headsets, keyboards, mice, and other gaming accessories while keeping your setup compact and organized.
Pros:
- Specifically designed for PS5 Pro, ensuring full compatibility.
- Provides five ports (three USB 2.0 and two Type‑C) for multiple accessories.
- Plug‑and‑play operation with no drivers or external power required.
- Compact design keeps the gaming area neat.
Cons:
- USB 2.0 ports are limited to 480 Mbps, which may be slow for large data transfers.
- Lacks an external power source, so very power‑hungry devices might not work simultaneously.
Best for: Users whose setup needs USB expansion and confirmed serial support
Not ideal for: Anyone assuming a USB hub automatically provides serial conversion
Bottom line: The listed name describes a USB hub, so confirm serial support and device compatibility before purchase.
Fiber optic testers
Fiber testing calls for tools suited to the checks you need to perform on your links. The listed pick is “Fluke Networks LinkIQ Kit with Fiber VFL & Live Fiber Detector.” Use that name as a starting point, then confirm the kit’s documented functions against the fiber work in your environment. Match the test to the task before choosing a tool.A common buying mistake is to assume that a tester’s name covers every measurement or fiber type required for a particular job. Check the product documentation for supported fiber connections and the specific functions you need, and compare them with your cabling and workflow. Also consider how the kit will be stored and carried between the desk and work sites. The name identifies a Fiber VFL and Live Fiber Detector, but it does not by itself confirm suitability for every fiber testing need. Confirm the documented capabilities and required accessories before relying on the kit for a given link.
What to look for:
- Check that documented functions match your planned fiber checks.
- Confirm supported fiber connections and types in the product details.
- Verify any required accessories are included or available.
- Consider where the kit will be stored and used.
Fluke Networks LinkIQ Kit with Fiber VFL & Live Fiber Detector

The Fluke Networks LinkIQ Kit is a comprehensive testing tool for network and fiber cables. It can qualify copper cables up to 10 Gb/s, test switch and network connectivity, identify and trace copper cables, and check fiber transceivers and polarity.
Pros:
- Supports high-speed copper cable testing up to 10 Gb/s
- Includes fiber testing tools for comprehensive diagnostics
- Portable and easy to use for network technicians
Cons:
- Limited details on battery life or durability
- May require technical expertise to operate effectively
Best for: Administrators whose fiber checks align with the documented kit functions
Not ideal for: Workflows requiring capabilities the product documentation does not confirm
Bottom line: Confirm supported connections, functions, and accessories against your fiber tasks.
Network cable certifiers
Cable certification is a distinct task from simply checking whether a connection is present, so identify what results your network work requires. The listed pick is “Fluke Networks DSX2-5000 CableAnalyzer Copper Cable Certifier.” Its name identifies it as a copper cable certifier; confirm the documented support for the cable and test requirements in your environment. Identify the cable type and required checks first.A common mistake is to assume a named certifier covers every cabling standard, connector, or reporting workflow. Check the product documentation against the cable types and test criteria you need, and consider whether your team needs to save or share results. Confirm any required adapters and accessories for your setup, and think about where testing will happen so the tool is accessible when needed. The product name alone does not establish fit for every network cabling job. Compare the documented capabilities with your cabling and reporting needs before making it part of your toolkit.
What to look for:
- Confirm support for the copper cable types in your environment.
- Match documented test criteria to your requirements.
- Check connector, adapter, and accessory needs.
- Verify whether results can be saved or shared as your workflow requires.
Fluke Networks DSX2-5000 CableAnalyzer Copper Cable Certifier

Certifies twisted-pair copper cabling from Category 5 through Category 6A, with a 1 GHz range, touchscreen controls, and LinkWare reporting. It supports tests for wire map, length, signal loss, crosstalk, and other cable performance measures, and includes adapters, testing modules, chargers, headsets, and a carrying case.
Pros:
- Tests a broad range of twisted-pair cabling, including Category 6A
- Touchscreen interface and project management features support certification workflows
- Graphically identifies cable fault locations for troubleshooting
- Includes permanent link and channel adapters
Cons:
- Fiber testing and OTDR testing require optional hardware modules
Best for: Teams testing copper cabling with matching documented requirements
Not ideal for: Fiber tasks or workflows outside the certifier’s confirmed capabilities
Bottom line: Check cable support, test criteria, and accessories against your certification workflow.
Label printers
Labels can make equipment and cables easier to identify during setup and ongoing administration. The listed pick is “Rollo Wireless Shipping Label Printer.” Its name describes a wireless shipping label printer, so check whether its documented label formats and workflow suit the identification labels you need. Confirm the label use before choosing it for infrastructure work.A common mistake is to assume a shipping label printer automatically supports the label stock, sizing, or software workflow required for equipment and cable identification. Check supported label formats and dimensions, connection options, and the devices or applications you intend to use. Consider where the printer will sit and how labels will be created and replenished. The product name alone does not confirm suitability for every labeling task. Match the label format and workflow to your setup before making it the default printer for administrative labeling.
What to look for:
- Check supported label formats and dimensions.
- Confirm wireless connection compatibility with your devices.
- Verify the software workflow for creating the labels you need.
- Consider printer placement and label stock requirements.
Rollo Wireless Shipping Label Printer

This wireless thermal label printer supports Wi-Fi and AirPrint for seamless printing from iOS, Android, Windows, and Chromebook devices without drivers. It features a high-speed 150mm/s print rate with 203 DPI resolution, ideal for shipping labels and custom stickers.
Pros:
- Driver-free wireless setup via Wi-Fi and AirPrint
- High-speed printing at 150mm/s with clear 203 DPI resolution
- No ink or toner costs due to direct thermal technology
- Broad compatibility with major shipping platforms and e-commerce marketplaces
Cons:
- Direct thermal labels may fade over time compared to thermal transfer
- Limited to monochrome output
Best for: Users whose identification labels match the printer’s documented formats
Not ideal for: Setups needing label types or workflows the product does not support
Bottom line: Confirm label formats, connection options, and software fit before choosing this printer.
When prioritizing purchases, start with the tasks that block your work most often, then confirm compatibility and required accessories before filling secondary slots. Write down the systems, cables, connections, rack measurements, and label needs you already know. That gives you a clear buying order based on the work your setup must support.
Use the advice-only sections to define requirements, and verify each named pick against its product documentation and your equipment. A few careful checks can make the workspace more useful and help keep unnecessary gear off the desk. Build the setup one task at a time, and revisit the checklist as your infrastructure changes.